
Getting started
All usersUse this page when you are opening InOrOut for the first time or helping a new user get through account setup.
Sign in or register
- Open the app and choose Login or Register.
- Use email and password for a standard account, or choose Google or Apple when those providers are available.
- Finish the screen and continue into the app.
During registration, you provide personal details and basic preferences. The preferences step has the same settings as the Culture tab of your profile — language, date format, units, timezone and 24-hour clock, plus See translations and Languages you read while automatic translation is offered. After the first successful account setup, InOrOut continues into onboarding instead of dropping you into a blank home screen.
If you registered with an email address, the app also asks you to confirm it. A six-digit code is sent to the address, and a Confirm your email address banner stays on Home until you enter it — tap Enter code, type the code and press Confirm, or ask for Send a new code if it has expired. A code lasts 24 hours and allows five attempts. Until the address is confirmed, any team invitations sent to it are held back. Signing up with Google or Apple needs no confirmation — the provider has already proved the address. See Email verification.
A footer below the sign-in options states that using InOrOut means you accept the Terms of Service and the Privacy Policy. Both names are tappable where they sit in that sentence and open the published page. Registration also asks you to tick an acceptance box on the last step, before the account is created.
If you have set an App lock on the device, opening the app lands you on the InOrOut is locked screen rather than the login form: unlock it with your fingerprint or face, or with your PIN. The lock is not a way of signing in — it guards a session that is already there.
If you have signed in on the device before, the app restores your session on its own when you open it. While that is happening the login screen shows the logo and Signing you in… instead of the form, so there is nothing to start typing into moments before the app signs itself in. With an App lock set you see the lock screen first, and the restored session is waiting behind it. The form comes back as soon as it turns out there is no session to restore.
If the app loses contact with the server, it covers the screen with a notice that the connection is gone. Retry now reloads what is behind it as well — and your session, if it never finished being restored — instead of only dismissing the notice. The same happens by itself once the connection comes back on its own.
Sign in with a QR code
If you are already signed in on another device, you can sign a new device in by scanning a code instead of typing your password.
On the device you want to sign in:
- Tap Sign in with QR code at the bottom of the login screen.
- The screen shows a QR code, a countdown, and a two-digit code under “Enter this code on the other device”.
- Leave the screen open. It signs itself in as soon as the other device approves.
On the device that is already signed in:
- Scan the QR code with the camera and open the link in InOrOut.
- The Authorize device screen names the device that is asking and how long ago it asked.
- Type the two-digit code shown on the other device, then tap Approve — or Reject if you did not start this sign-in.
Approving also asks for your App lock — fingerprint or face first, then your PIN where the lock has one — even when the phone is already unlocked. A device with the lock off is not asked, and the warning on the screen is all that stands between somebody holding it and your account.
The code is deliberately not part of the QR code, so a photograph of the sign-in screen is not enough to approve it: whoever approves has to be able to see the other screen at that moment. You get one attempt — a wrong code ends the session for good, and the first device has to start over with a new code.
The code expires after three minutes. When it does, the screen says so and offers Generate new code. If the request is rejected, or you close either screen, nothing is signed in.
Recover a password
- Open Forgot password from the login screen.
- Enter your email address.
- InOrOut sends a 6-digit reset code.
- Enter the code, choose a new password, and return to the login screen.
The reset flow stays on the same screen: first you request the code, then you move to the code-and-new-password step. If the code expires or the email address was entered incorrectly, request a new code and try again.
Complete onboarding
The onboarding wizard guides a new user through five steps:
- Choose an intent.
- Set up a team or group with an icon, name, optional description, location, and the Public team/group switch (on by default, turning it off requires Pro or higher), or select an existing admin-owned group when one is available.
- Configure the first session or activity.
- Invite people.
- Confirm and enter the app.
The group step can either create a new team or group or reuse one you already admin. The event step can stay simple or switch to a fuller event setup. The invite step supports email invites, invite codes, sharing, and your phone’s contacts: the app opens the phone’s own contact picker and you pick one contact at a time — it never reads your address book itself.
The back button moves to the previous step. The close button exits onboarding and returns to the main app. On the confirmation step, you can invite more people or finish immediately.
Because the wizard creates real data as you go, closing it part-way asks what to do with what already exists. A Cancel onboarding? dialog lists the resources created during the run, then offers Keep & Exit, which leaves the team and event in place for you to carry on with normally, or Delete & Exit, which removes them again. If you have not created anything yet, the dialog says so and simply lets you out.
The wizard creates real data. If you create a team and event during onboarding, those items appear immediately on the home dashboard and in the relevant group screens.
After onboarding
Once onboarding is complete, the app takes you to the home dashboard. From there you can:
- switch between the Agenda and Calendar views,
- open your profile,
- open coach analytics or Coach Pass,
- create or join a group,
- and continue with group-level administration.
The team, event, and invite code created during onboarding are already live at this point, so you can keep working from the normal group and event screens instead of repeating setup.
login-screen-android.pnglogin-screen-ios.png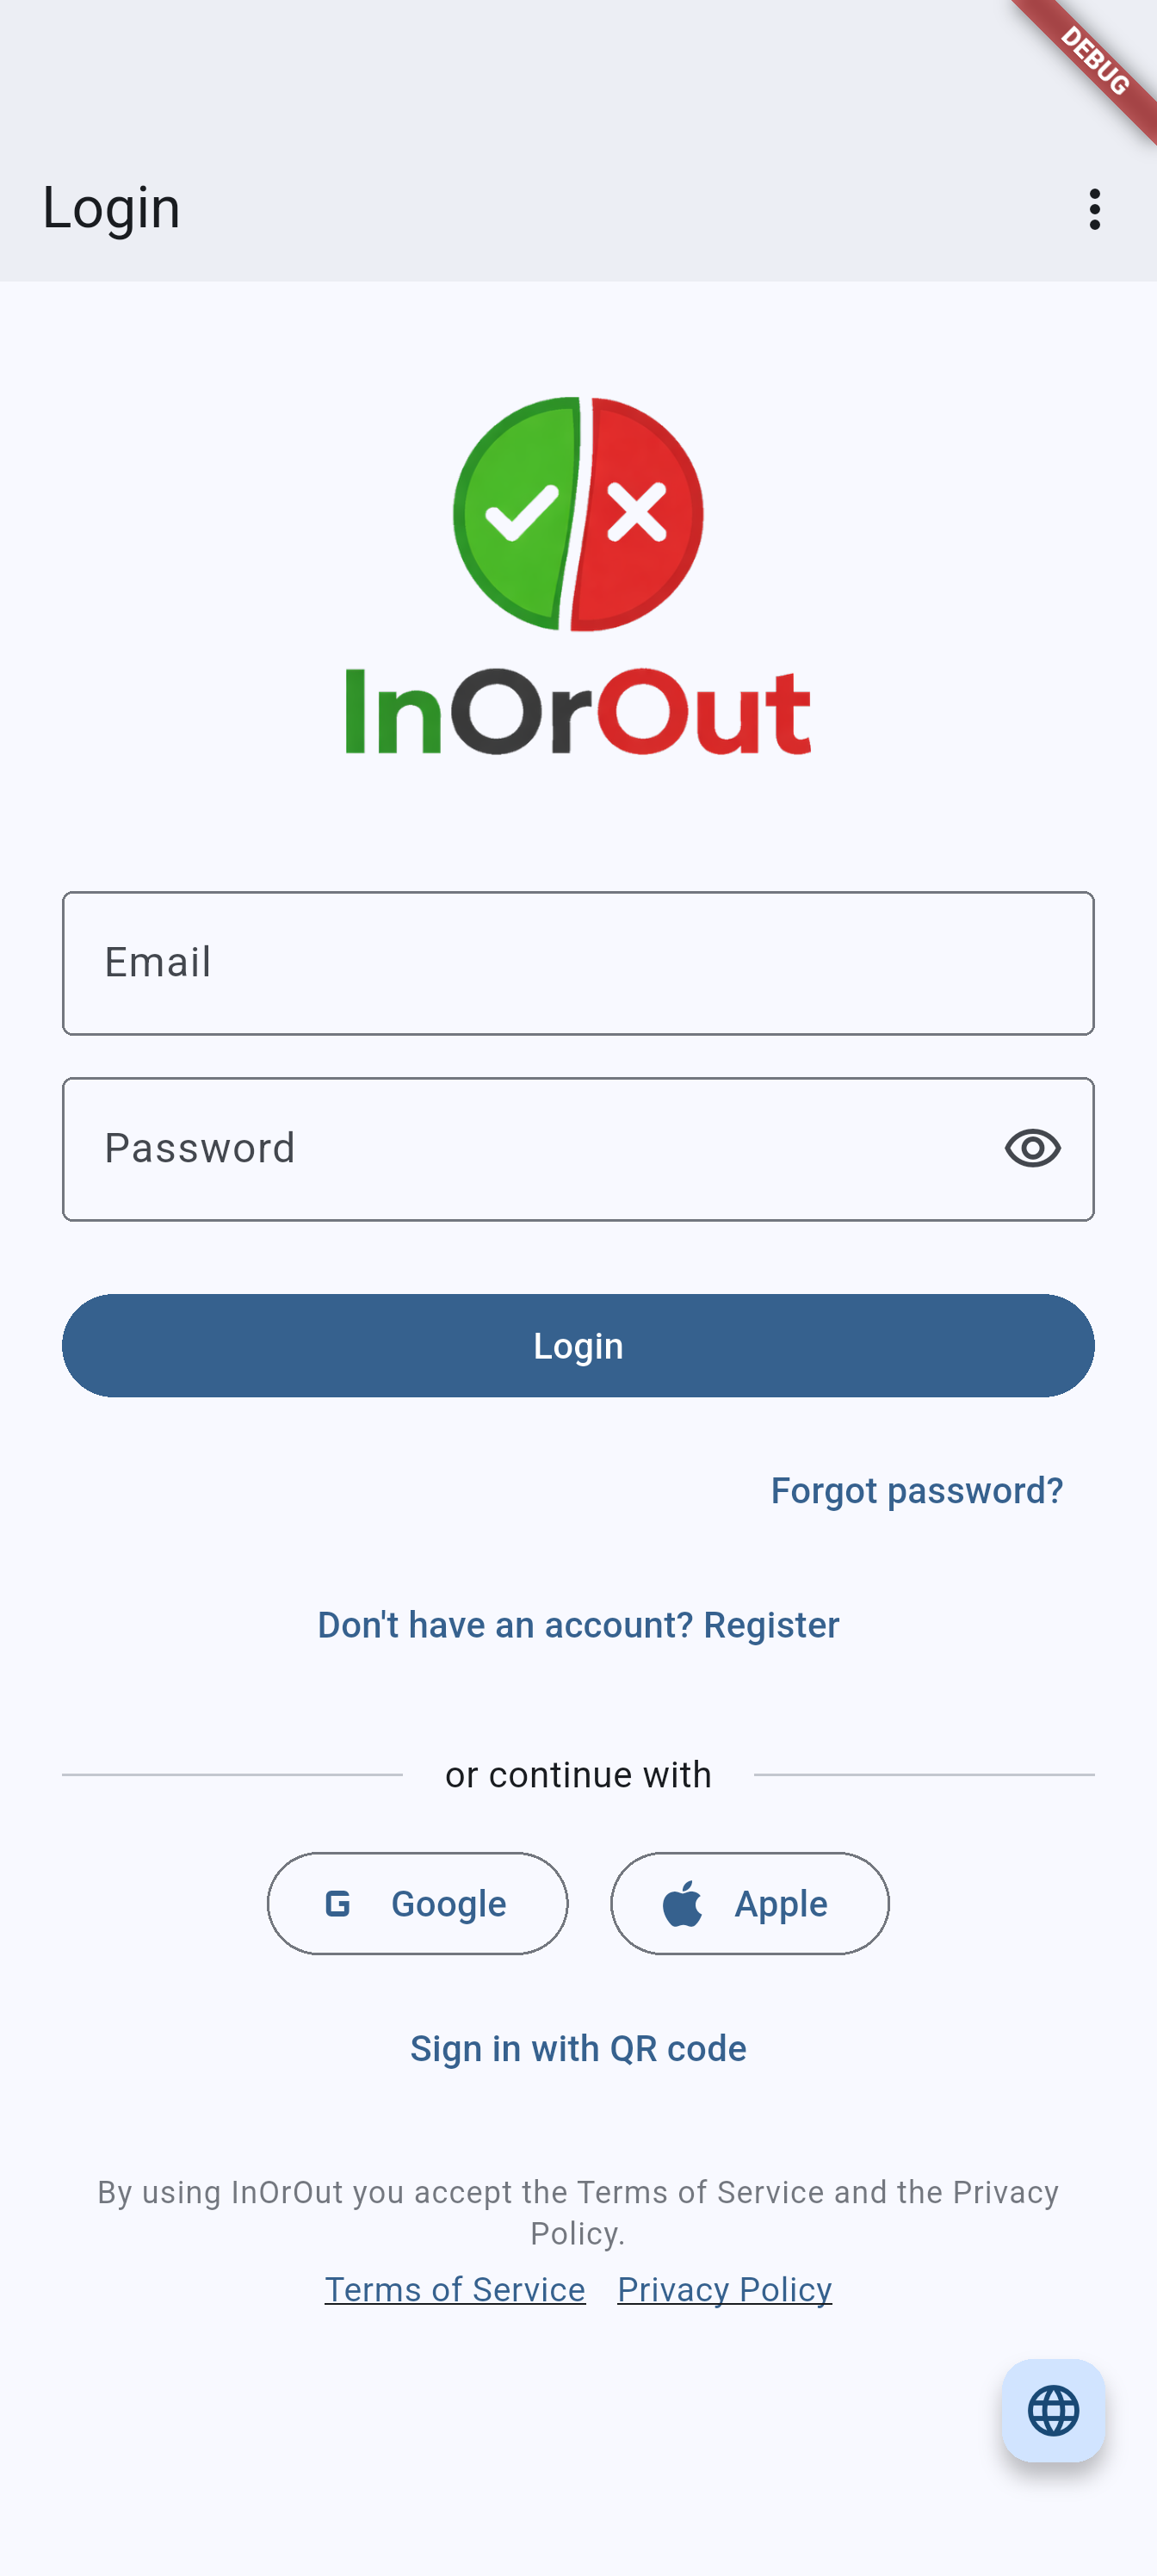
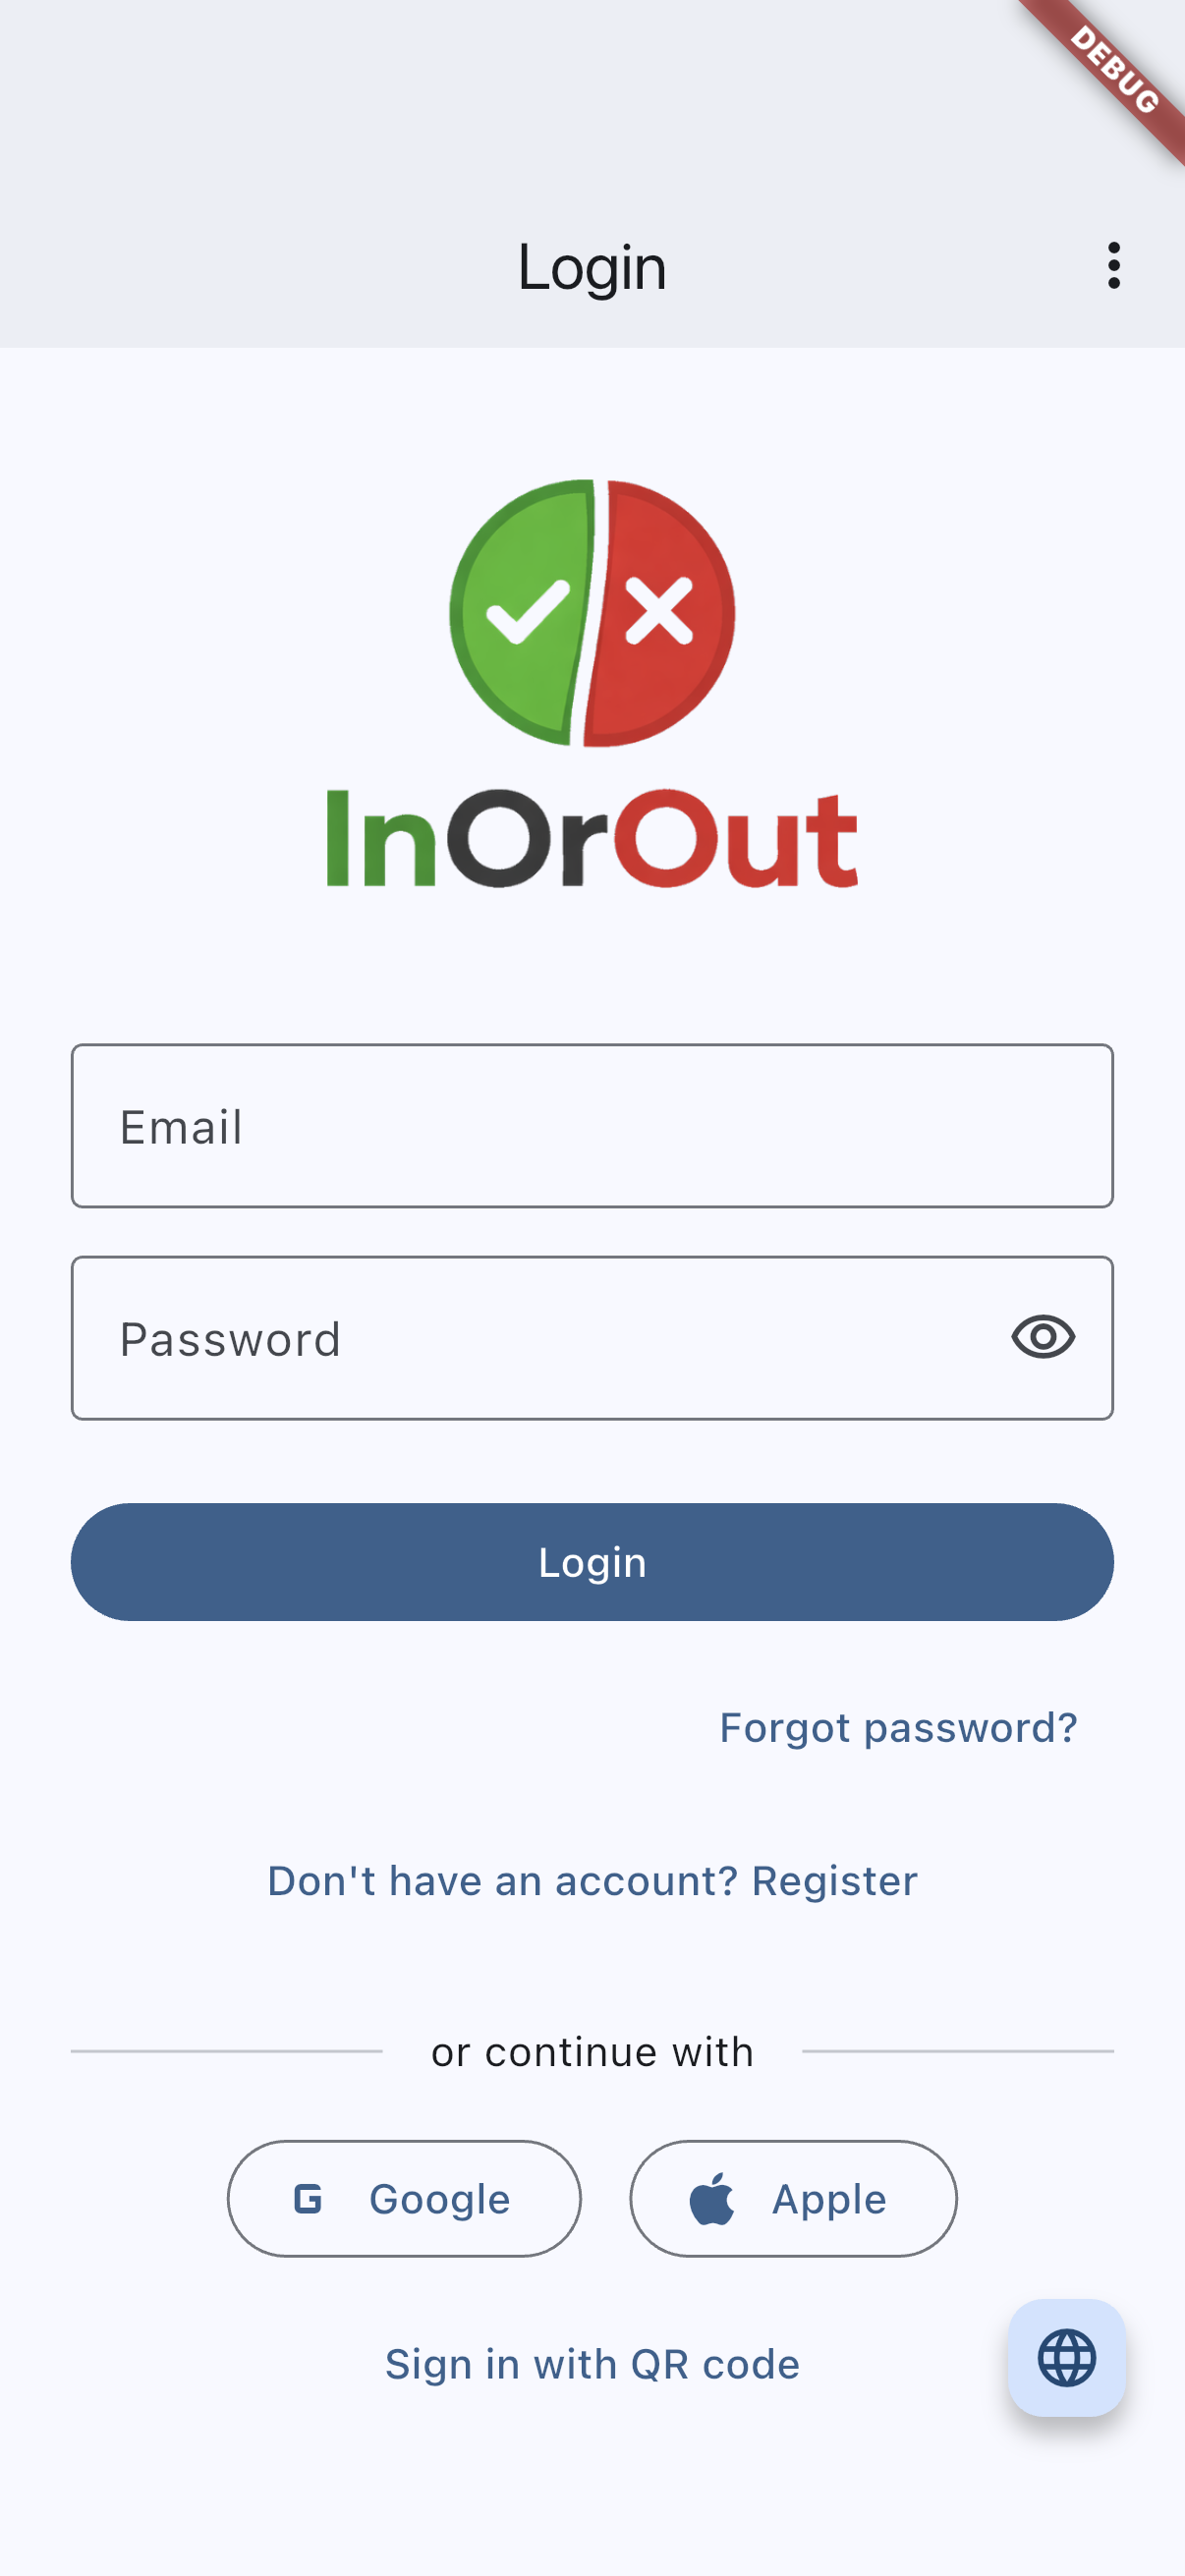
Recommended capture: the login screen with email/password and OAuth buttons visible.
forgot-password-flow-android.pngforgot-password-flow-ios.png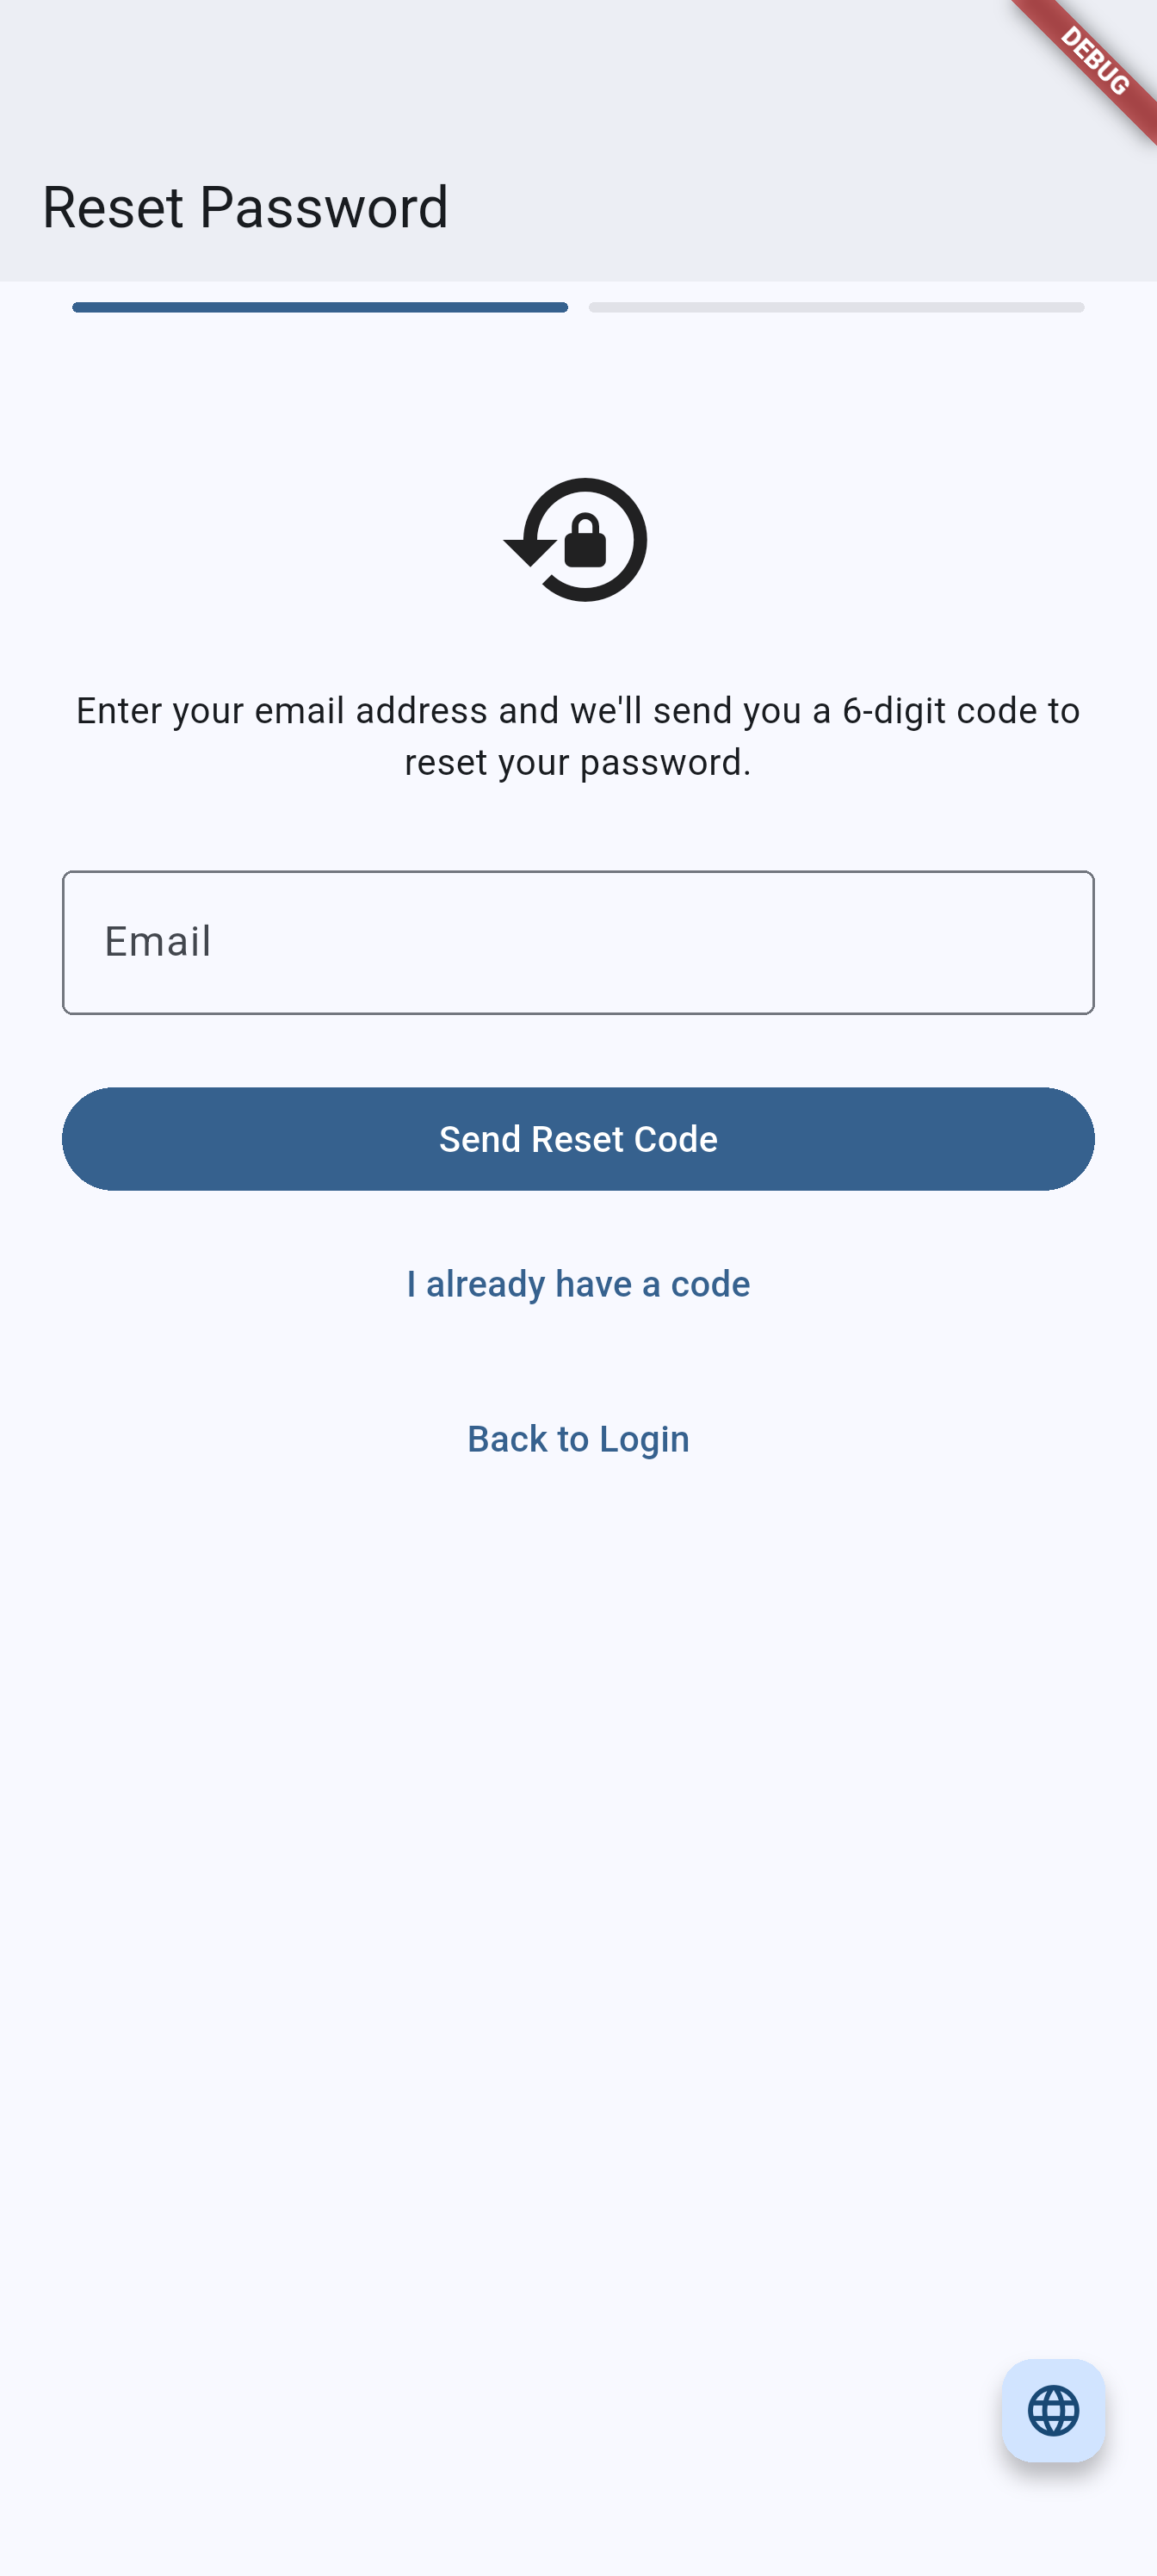
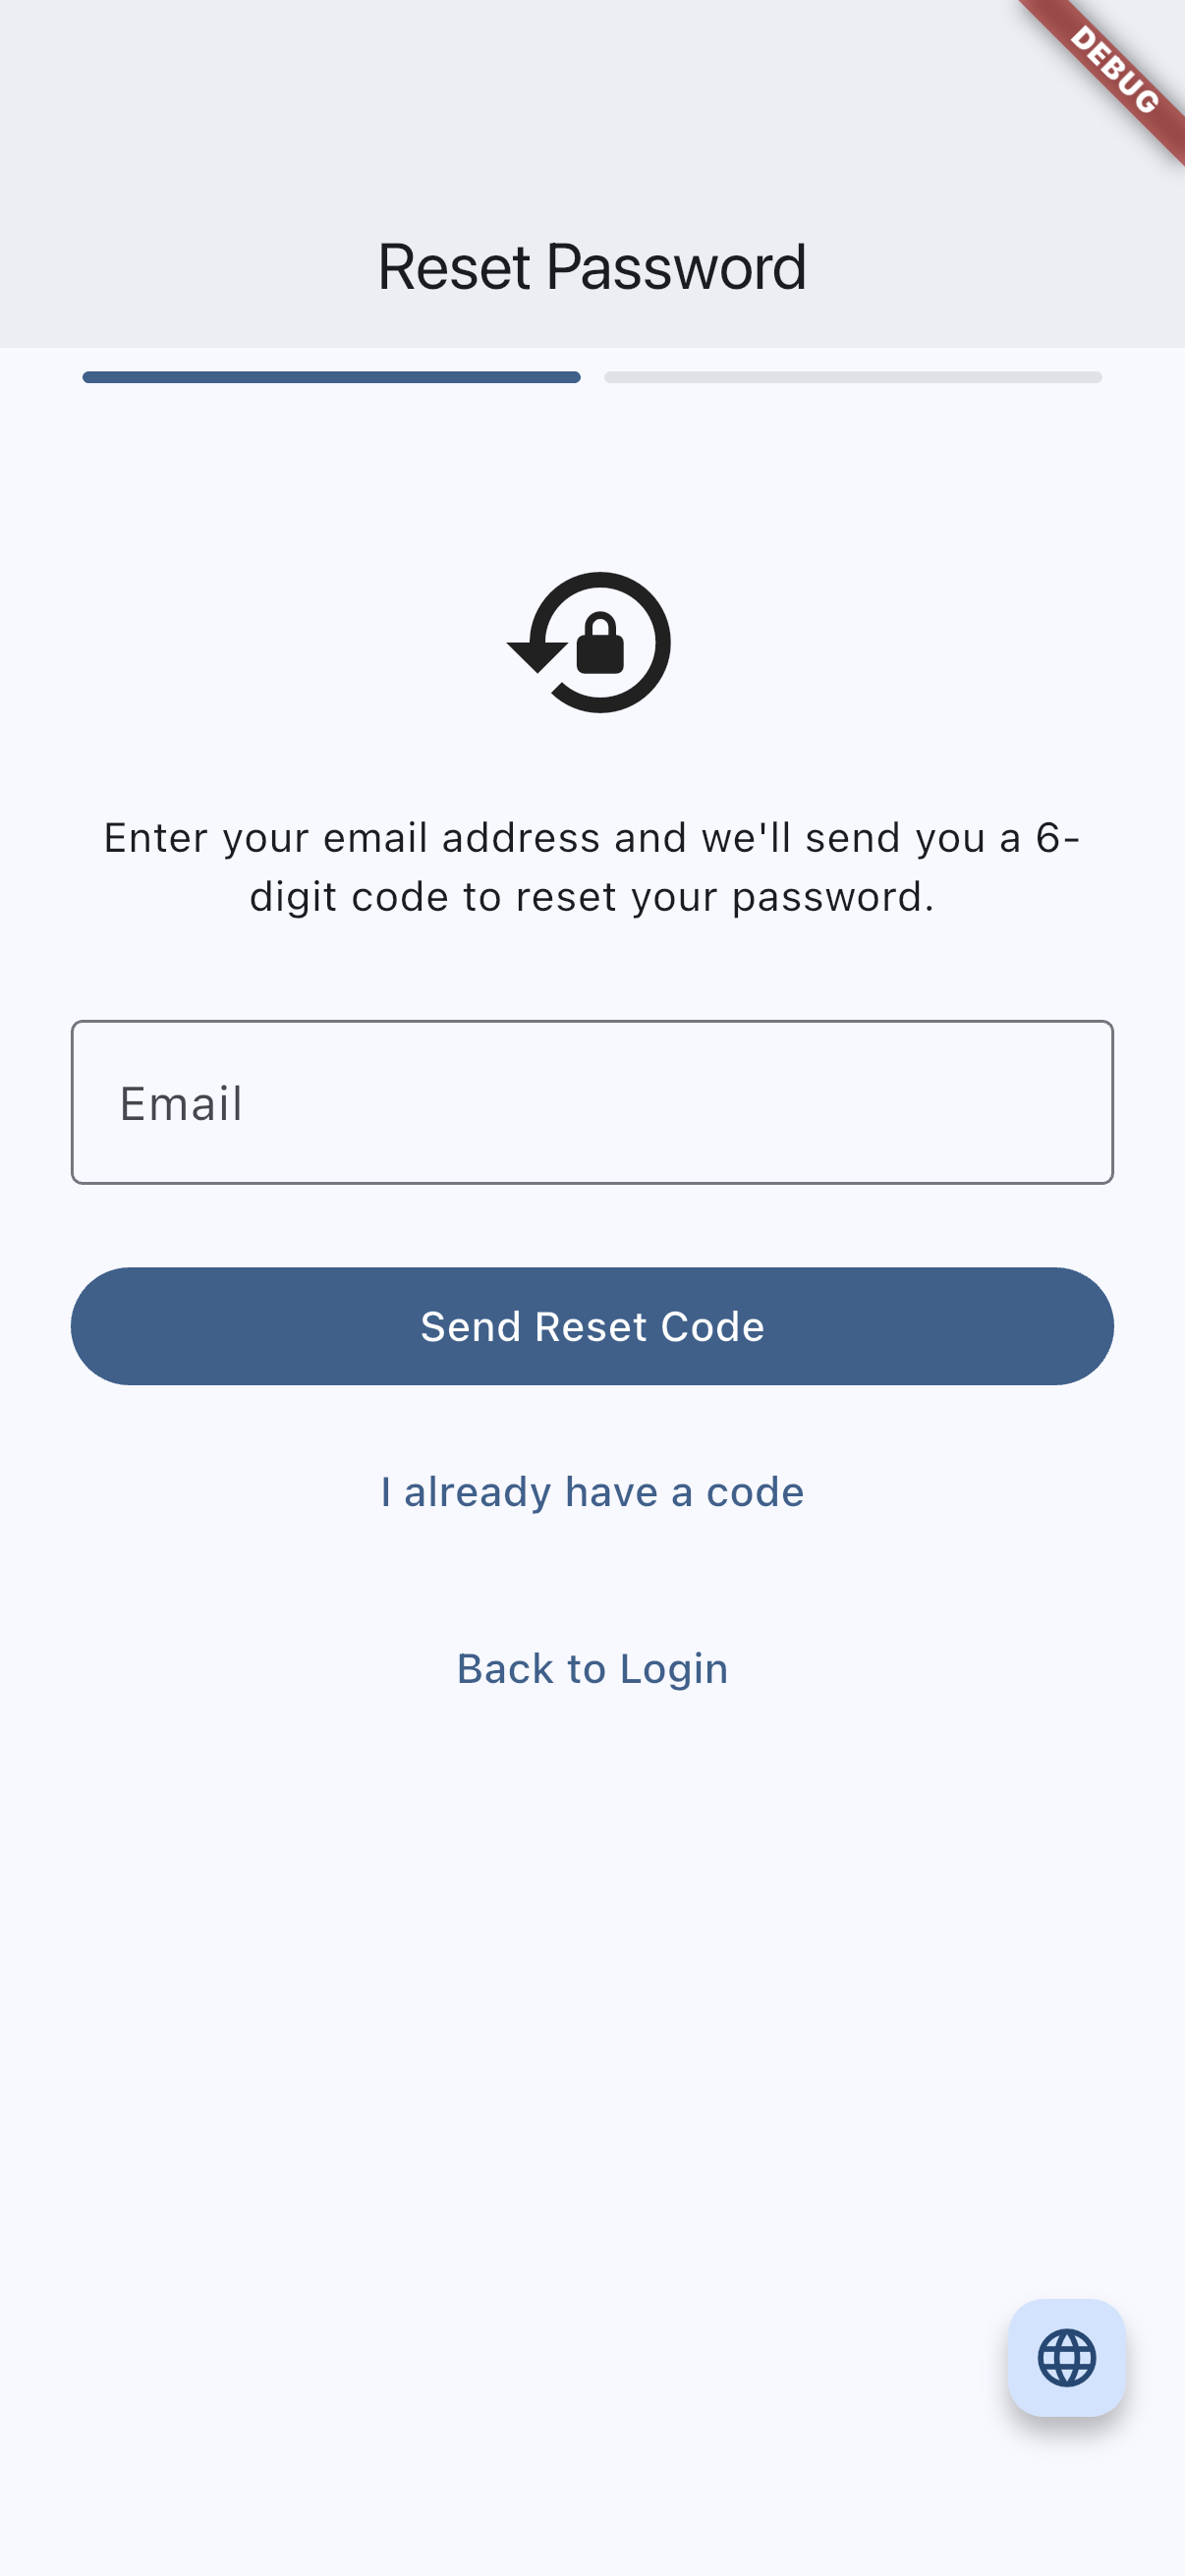
Recommended capture: the forgot-password flow showing both the email step and the code-plus-new-password step.
onboarding-step-1-intent-android.pngonboarding-step-1-intent-ios.png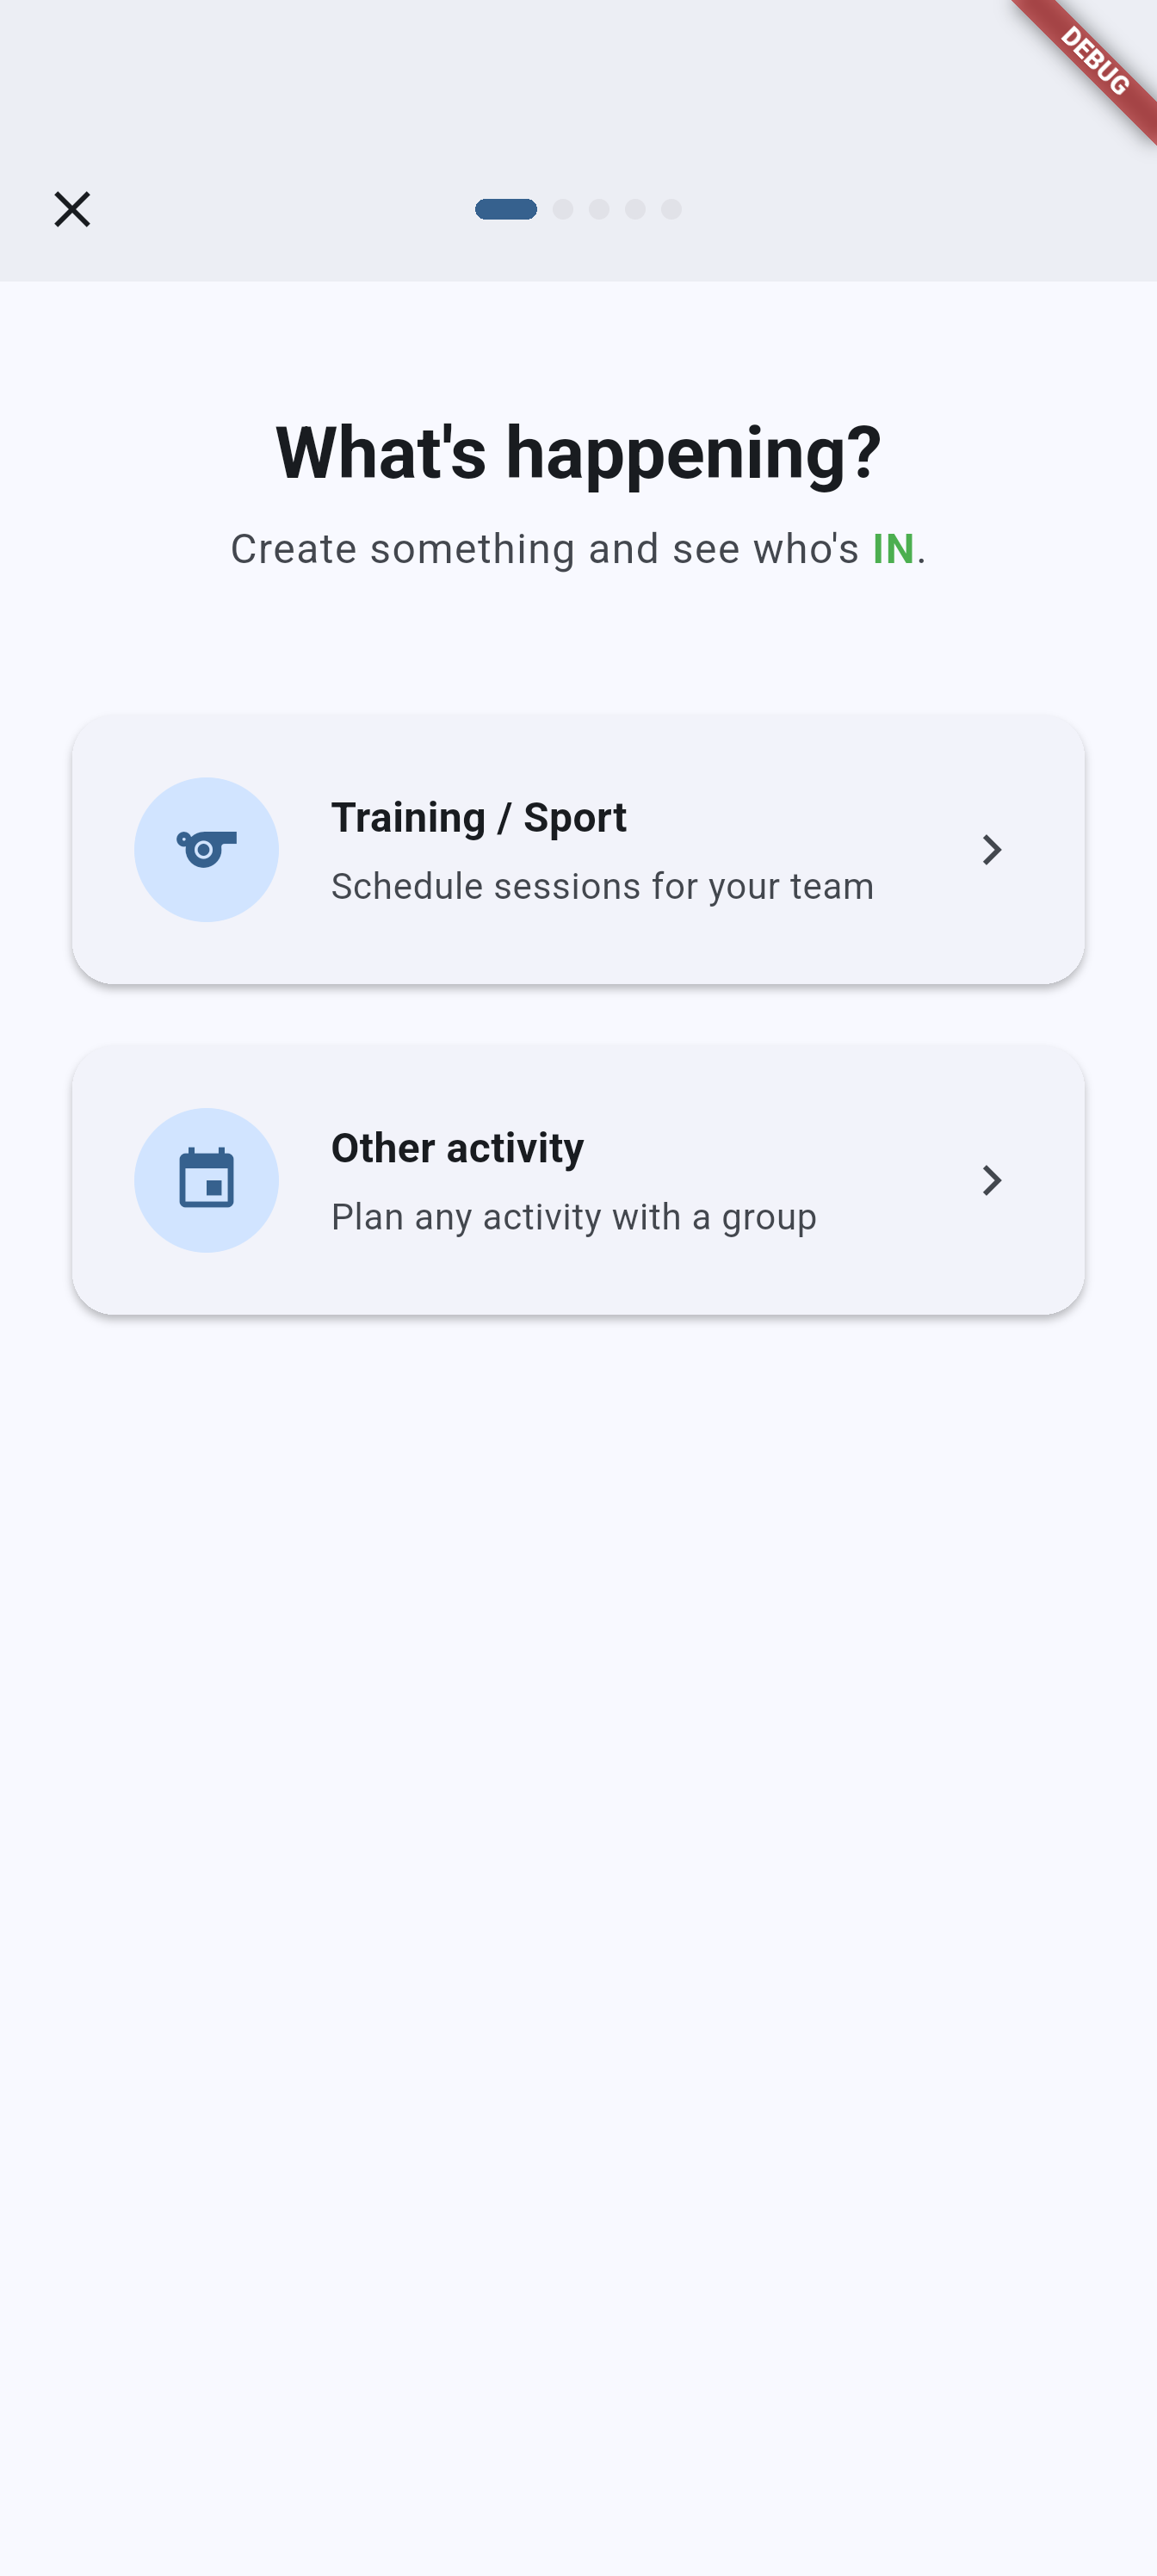
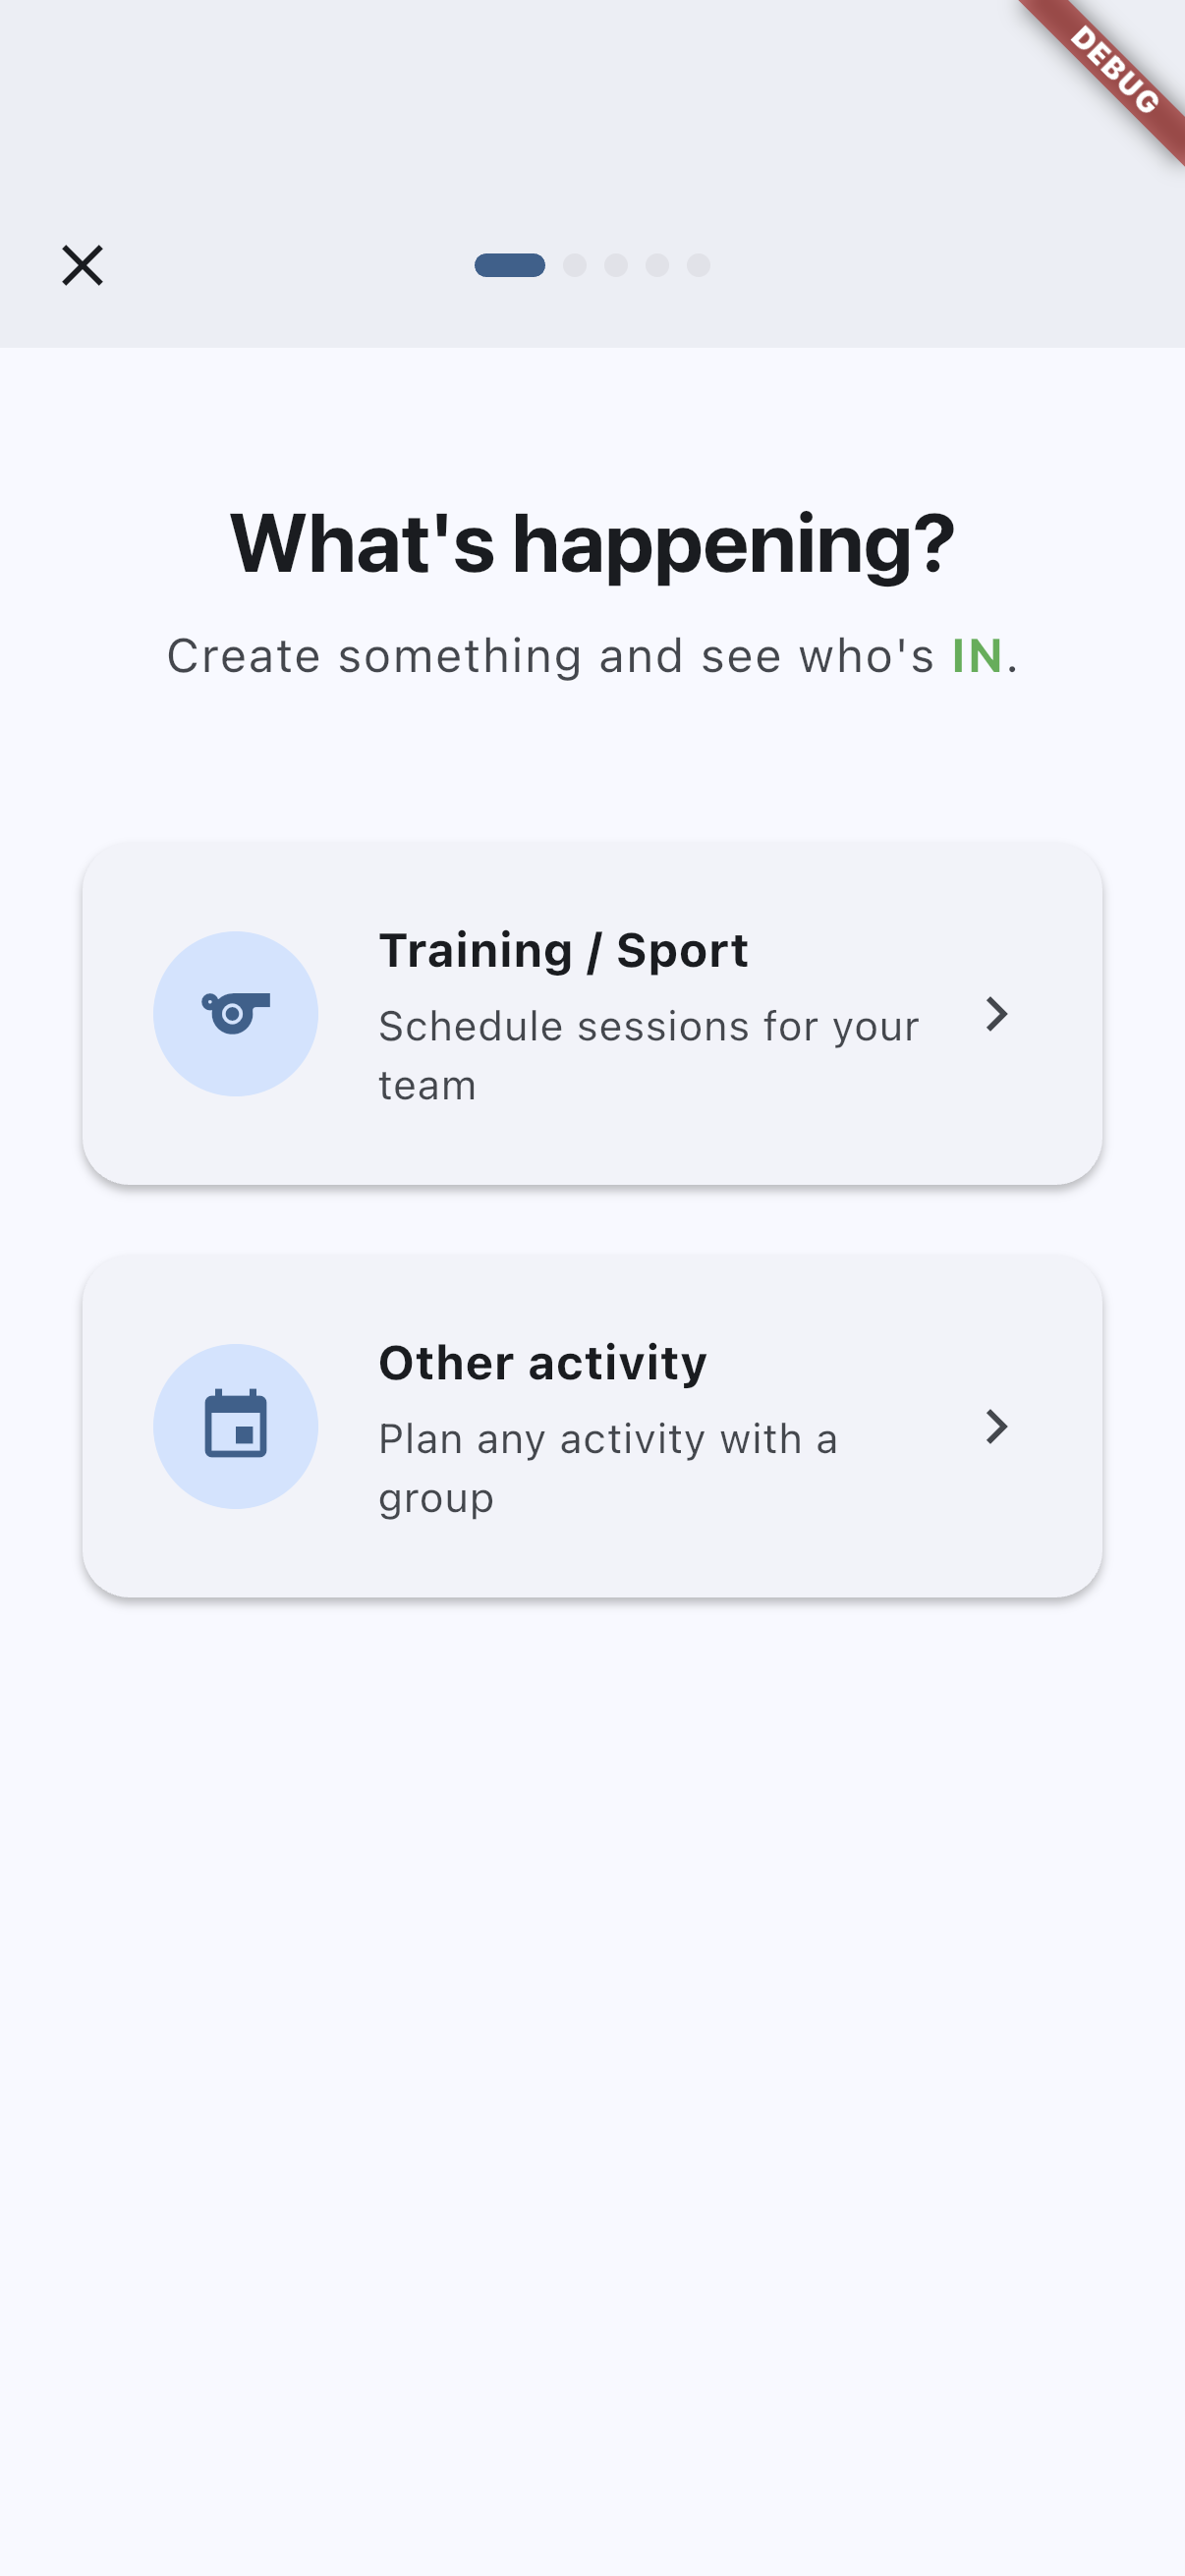
Recommended capture: the first onboarding step asking what kind of activity you want to plan.
qr-login-code-android.pngqr-login-code-ios.pngRecommended capture: the QR sign-in screen with the code, the countdown, and the two-digit verification code visible.
qr-approve-device-android.pngqr-approve-device-ios.pngRecommended capture: the Authorize device screen showing the requesting device name and the two-digit code field.
Related pages
- Teams and groups for creating or joining the first container after account setup.
- Events and attendance for configuring the first real event after onboarding.
- Profile and security for password changes, the App lock, and later account settings.
- Calendar sync setup details for the first-login calendar prompt, permission behavior, and finishing setup later from Profile.